To book an advising/registration appointment, first, check that registration is currently open by visiting the Academic Advising page of the UACCM website. From this page, you can access the Appointment Plus portal to check specific dates for free times and book an appointment.
Instructions
-
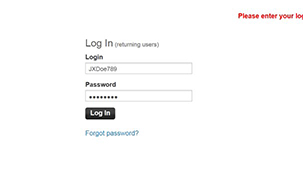
Log in
On the Appointment Plus portal, begin by entering your Login (first initial + middle initial + last name + last 3 digits of Student ID number) and Password (first initial + 9-digit Student ID number).
-
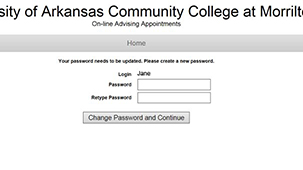
Change Password
The first time you login you will be asked to change your password. Enter a password of your choosing and then retype the password.
-
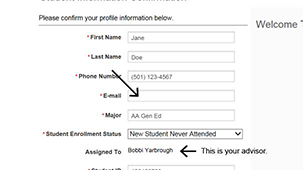
Confirm Info. Give Email Address
The first time you login you will also be asked to confirm your student information. At this step, enter an email address that you check most often. This address is where you will receive an email confirmation of your appointment.
-
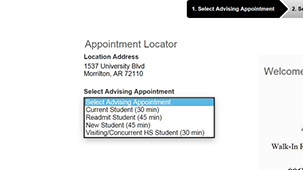
Select Advising Appointment Type
You will then be asked to select the type of advising appointment. If you are currently attending or have attended UACCM recently, select Current Student. If you are new to UACCM, select New Student.
-
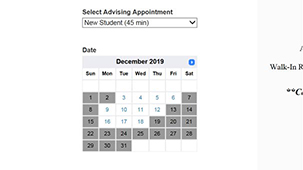
Select Date
Once you select an advising appointment session type, the calendar will appear. Use the calendar to select the desired date for appointment. If you do not see open days, you may have selected the wrong advising session type. Select a different advising session type.
-
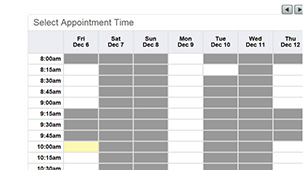
Select Time
After the times for the selected date appear, select an empty block of time for the appointment.
-
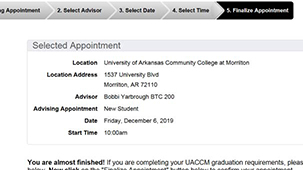
Review Selection
You should now see your selected appointment date and time. If this information is incorrect, click on "4. Select Date" in the progress bar and reselect date and time. Then complete the remaining steps.
-
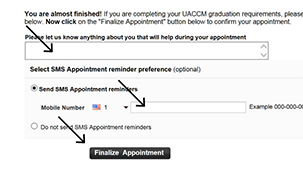
Indicate Eligibility for Graduation
If you plan to complete degree requirements during the term being registred for and will be eligible to graduate from UACCM, indicate that in the box below. Once you verify everything is correct, finalize your appointment.
-
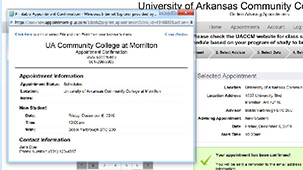
Print Appointment Information
You have completed scheduling of your appointment. You will receive an email to the account you provided when you logged in. You can also print your appointment information.
-
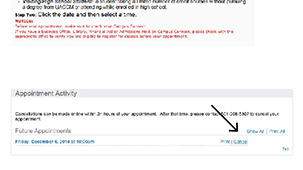
Canceling and Rescheduleing
If you must reschedule or cancel your appointment, you may do so up to 48 hours before your scheduled appointment by logging in to Appointment Plus, locating your existing appointments, and clicking "Cancel".